stranded colorwork
-
inspiration: digital preservation jumpers
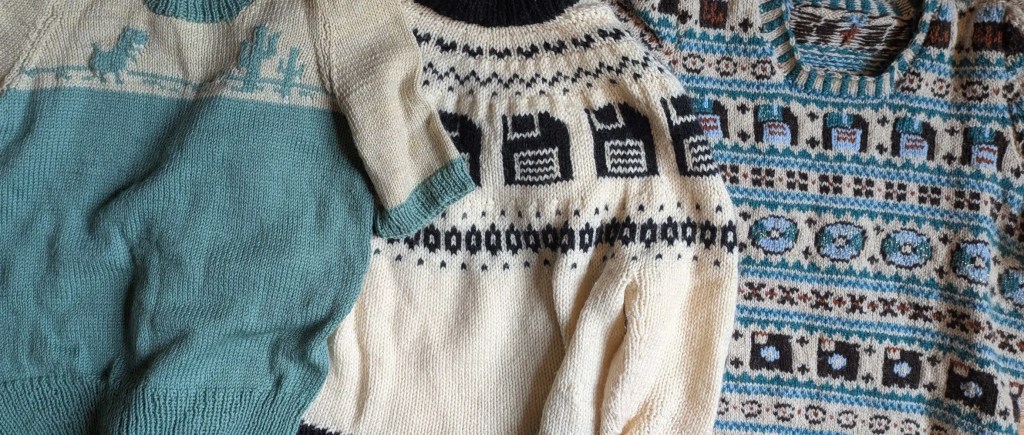
I spent the past six months working as a research librarian (something which I really enjoy, it turns out), and being immersed in the world of research libraries I often came across really cool things that other library people were doing. This post is about one of those things! A few months back I heard… Continue reading
-
FO: the academic
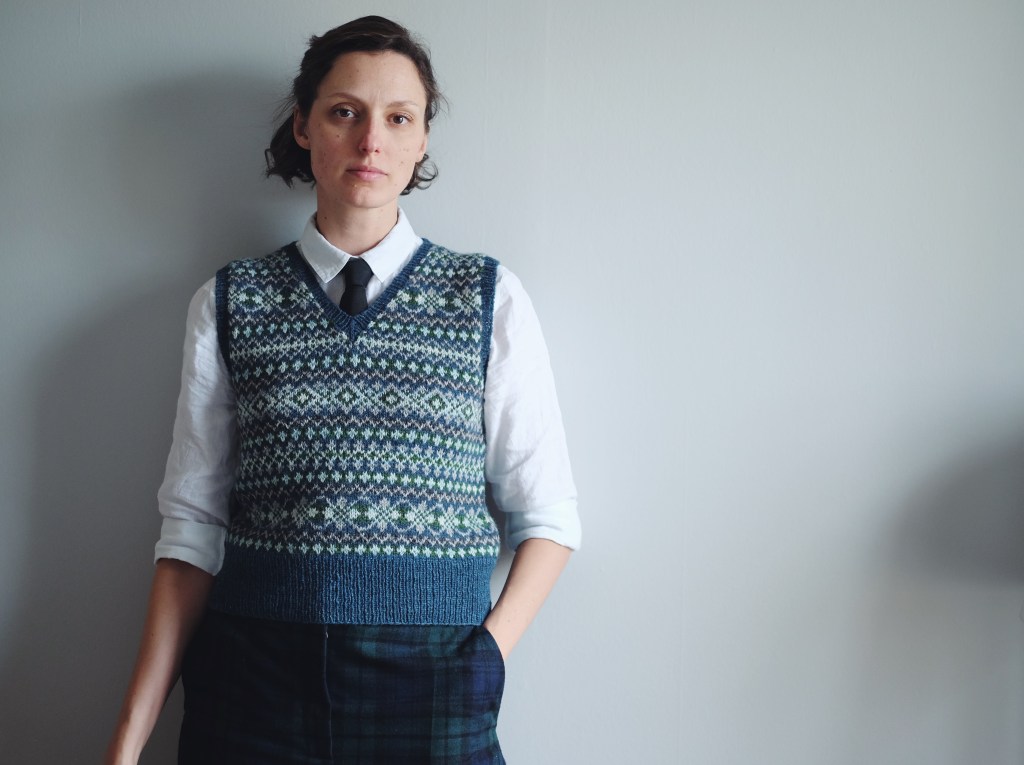
On October 31, I defended my PhD thesis, finally bringing a transformative 5-year journey to an end. Of course, I had to knit something to wear for it. Given that a viva is a big once-in-a-lifetime kind of thing, I gave a lot of thought to the clothes I would wear. In Norway the defense… Continue reading
-
bramble: on yarn choice
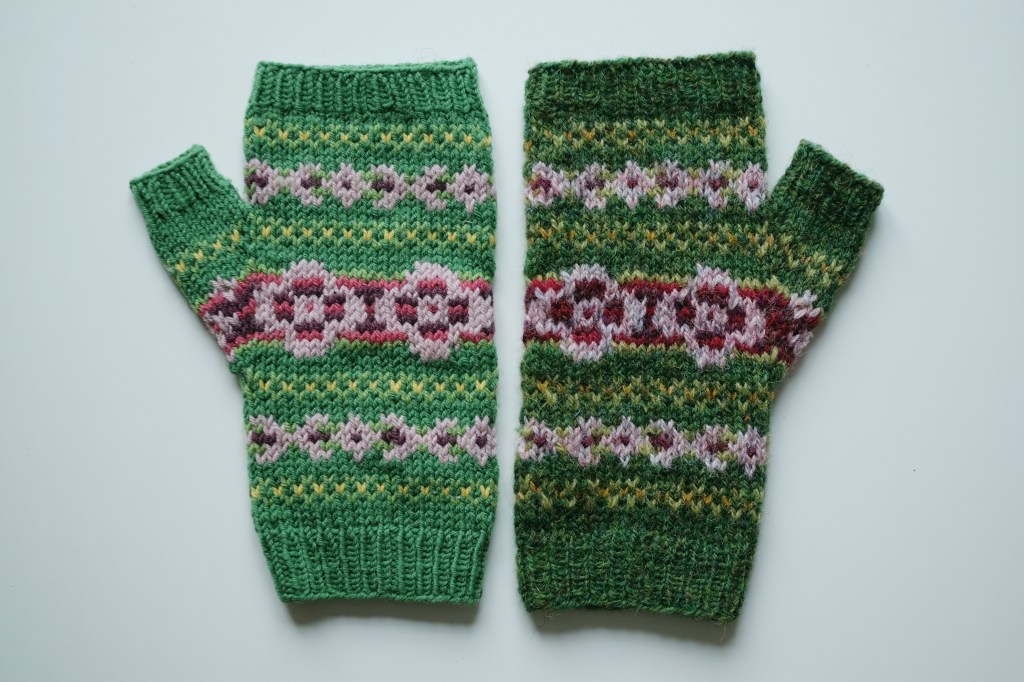
Back in 2020, my Bramble Mitts (Ravelry link) were published in Amirisu. The pattern sample was worked up in Quince & Co. Finch, and if memory serves, this was the magazine’s choice. My original preference for the design was Jamieson’s Shetland Spindrift, due both to the huge range of colors available and the put-up in… Continue reading
-
new work for amirisu
The previews for issue 22 (spring/summer) of Amirisu magazine went live last week, and I actually have some new work to share! For those unfamiliar with the magazine, Amirisu originally started off as a digital-only knitting magazine, publishing bilingually in English and Japanese (they are a Japanese company). Nowadays they’re a print magazine, publishing each… Continue reading
-
trapping long floats in stranded colorwork
One of the questions I get most often from students or knitters working from my patterns is how to trap floats in stranded colorwork. I thought it would be a good idea to finally address this issue! Firstly: what is a float, and why would I need to “trap” it? “Float” is a common term for the… Continue reading
